Setting Up The Swinux Website
Have you ever wanted to create a website? Well, the Swinux committee did! Here’s how we went about it.
The Basics:⌗
To deploy the website, we’ll need the following components:
- An up-to-date Linux machine
- Basic knowlege of a shell, package manager and git
- Some creativity!
This guide provides all of the steps neccessary to create a simple website, with a first post.
This guide features heavy use of the && operator which allows for multiple commands on the same line. The website is a static site built by a framework called Hugo. Hugo uses markdown files to create webpages, which means creating a page, blog entry or anything else is quite simple.
The Resources:⌗
- Hugo Quickstart Guide: https://gohugo.io/getting-started/quick-start/
- Re-Terminal Hugo Theme: https://github.com/mirus-ua/hugo-theme-re-terminal
- Markdown formatting: https://www.markdownguide.org/basic-syntax/
The How:⌗
To begin, we first need to verify we’re on an up to date system. Running the following commands on most distros (Ubuntu, Debian) syncs the latest version of each package to your system, and upgrades them:
sudo apt update && sudo apt upgrade
Make sure to confirm the changes in the command output. Next, we need Hugo to start creating our website. Running the following command will install Hugo and prepare it for use:
sudo apt install hugo
Once Hugo is installed, we can begin to create our website. If we want to create the project in our home folder, (Think C:\Users\Yourname on Windows) we can run the following command:
cd ~/ && hugo new site swinux
After changing our current directory, we also tell Hugo to create a new website with the name of ‘swinux’. If you want to change the name of the site, feel free to change it to whatever you had in mind.
We then need to enter into the site directory by issuing the following command:
cd swinux
Next, we need to decide on a theme for Hugo. Themes dictate how Hugo will look, and there are a wide variety of themes available for your site. Themes can be installed in a variety of ways, but we will use git to install one. Running the following commands will set up the Theme swinux will use.
git init && git submodule add -f https://github.com/mirus-ua/hugo-theme-re-terminal.git themes/re-terminal && echo "theme = 're-terminal'" >> hugo.toml
The last command above will inform Hugo of the theme we want to use by entering it into the ‘hugo.toml’ file. This file contains most of the bare essentials for running a site. Now that we’ve got Hugo and our chosen theme installed, we can create our first post:
hugo new content content/posts/my-first-post.md
If we want a different name, we can change ‘my-first-post.md’ to something else, like ‘hello-world.md’. As you can see in the file extension of ‘my-first-post.md’, it is a simple markdown file. This means that you don’t really need to know anything about programming to be able to write a blog post. You’ve probably already used Markdown format before without even knowing it. Have a look and see what cool stuff markdown can do for you:
https://www.markdownguide.org/basic-syntax/
We can then open the file, either through a graphical text editor (such as Notepad, Kate or GNOME’s Text Editor) or through a command user interface (such as vi or nano). Everyone will have their preference, but I will stick to the command line and use nano:
nano ./content/posts/my-first-post.md
When you open it up, you’ll see that there is already some text. You can modify these values, but more importantly, you can begin to add your own text which will be the content of this post. Once you’re happy with what you’ve got, you can save and exit nano by doing the following shortcuts in succession:
Ctrl + S and Ctrl + X
This will save and exit nano respectively. At this point, we’ve got everything we need for our first website. We have Hugo, which manages our pages and site, and at this point we should have written something for our first webpage. We’re now ready to see it in action!
In our shell, we can run the command below to start up the webserver. This will build the website and make it available so we can see what it looks like.
hugo server

You should be able to see the above output in your shell. If you look closely, you will see that the website is available at:
http://localhost:1313/
Navigating to this link in our browser, we can see that we indeed have a webpage!
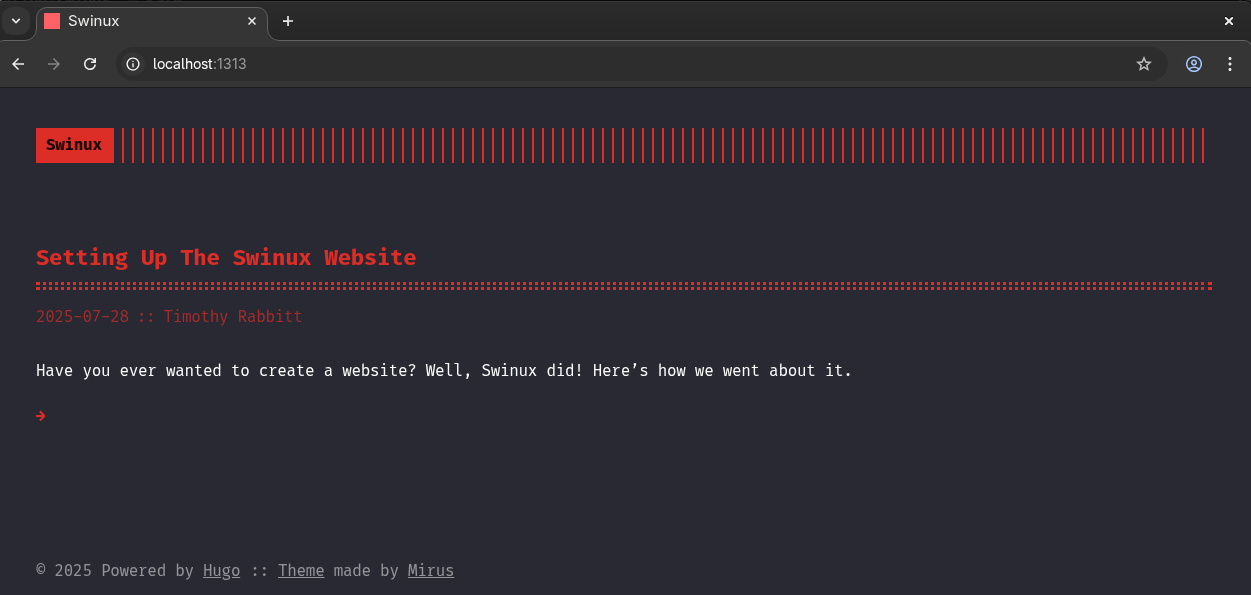
Isn’t that very meta?
At this point, you’ve learned all of the basics required to create a website with Hugo. You’ve used a couple of basic Linux commands, including use of the && operator to combine commands. In addition, you’ve used a package manager and a text editor of choice to make changes to the website using markdown. You’ve deployed the website and can navigate through it.
However, there’s still much more to learn. You can check out the resources section at the top of the page for more information.